Showing posts with label sewing. Show all posts

Tuesday, 3 July 2018

Clothes for Dolls - The First Dress

Since I finished the last shawl, I have been a bit distracted by the heatwave we are having here!
Until the temperature drops, I shall have hands too clammy and brain to fuggy to concentrate on a cosy, warm shawl.

Thinking back to Christmas, a bit crazy in this heat, I know, but I had put an 18" doll on my wish list, just because I'm still a kid at heart and I love making clothes for dolls.
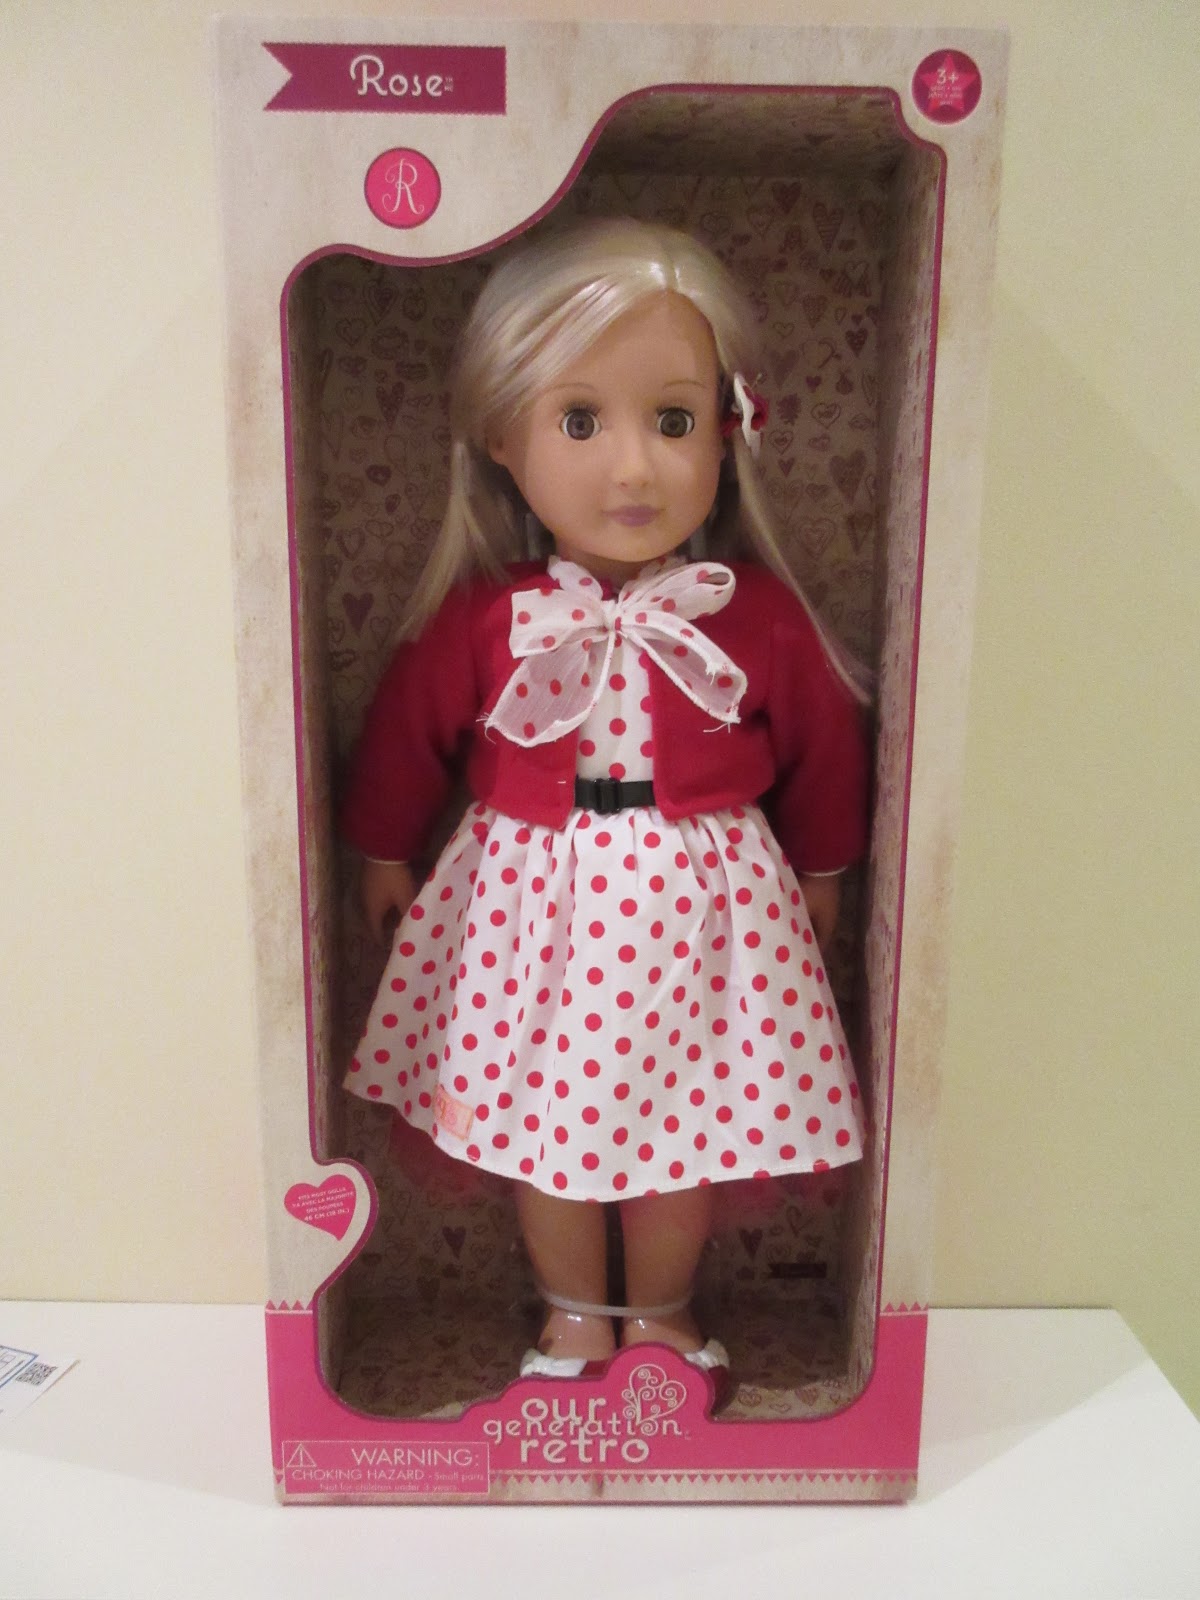
Christmas Day I was presented with Rose and I was so pleased but as I had some other projects started and I've been trying very hard to finish things, I put her in my queue to wait her turn!

After a couple of months, I started to be asked 'Have you made any clothes for your doll yet? And they kept asking, so despite having a work table covered in various works in progress, I spread to the dining table with fabric and sewing machine, as you do, and came up with this dress.
I had plans to make a matching hairband but time was getting on and I had to clear away all signs of having broken my self-discipline and spread to other rooms.
She will get a hairband and more clothes once I finish the new knitting project I've started and am really excited about!
I am making tiny things so can do them in the evenings as the temperature cools a bit. More about that another time.

Rose is very well made and a dream to fit as the clothes are not too tiny or fiddley, although they do take more fabric than I expected but then I'm used to making tiny miniatures that use just scraps.

A little tip I've found very helpful when sitting outside place both feet in a bowl of cold water. It cools the blood nicely!

Stay cool and carry on!


Friday, 30 March 2018

Patchwork Project Bag No. 2

Swapping between all my interests I often find myself in a bit of a muddle - Surprise? - No.
On a table next to my armchair in the living room are the DMC threads from my cross stitch, mixed together with my crochet shawl, balls of wool, patterns, scissors, markers etc.
Endlessly trying to be a tidier person I decided to make another project bag in order to separate things.
Of course, then, in my workroom I have fabrics, cutting mats, threads and sewing machine out to make the bag.
Having lots of scraps of browns and yellows I set about making another in the heart pattern I used before. The bag size is perfect for quilts or knitting as It is almost 20" wide.
I took the cutting mat, wheel and rulers into the kitchen as the worktop height is good to cut standing up, plus the iron and ironing board are there.
Once the hearts were constructed I needed a bigger place to lay them out, and I take them to the dining table.
If you were keeping up with me, I have now taken over four rooms with my stuff!
Project Bag No. 2


The bag is perfect. I put my crochet into it, folded away the ironing board, vacuumed the floors, hide my tools away and yes, I look quite like a tidy person for a while!
Making the bag was also a test for my sewing machine. Only 6 years old and it had become noisy. The needle was never in the centre and sometimes it scared the life out of me as the needle hit the foot and broke with a bang because it had moved over to the left!
It had to have the Step Motor replaced and now works as if it is a new machine, thank goodness.
Now to do something about my knitting needles - they need a bag.
It's Good Friday, I hope it is a good one for you,


Saturday, 9 January 2016

A New Seat Cushion for an Old Leather Chair

An old leather chair my youngest son was presented with was pretty much ok other than the seat cushion which was badly worn and torn.
Always up for an interesting challenge, I agreed to make a new cover.
I unpicked every bit of the old one and used it as a pattern to cut the new fabric.

 My son requested a tartan and I found the perfect fabric in Dunelm.
The leather was impossible to pin to the fabric for cutting so I used pieces of masking tape which worked very well.
After cutting I make the piping.
 Which I stiched to the top of the seat cover.
 Working carefully around the curves.

 
I placed a piece of wide, self sticking velcro to the centre of the underside to line up with an existing piece on the chair which stops the cushion slipping.
 I forgot to say that I ironed on some interfacing to the inside of the cushion cover to help prevent it stretching too much.
 I sewed in a zip to the top and bottom of the cover, at the back.
 I then completed the cushion cover by stiching everything together!
This is the finished underside.
 And this is the top.
And finally the new cushion on the chair! My son is very pleased, so I'm happy too.
I hope you're all going to have a very Happy and Healthy New Year - 2016!