My granddaughter was two years old recently and she had a little kitchen for her birthday. I thought I'd make her some food to cook. This is some of it but I forgot to take a photo of the chips, sausages, donuts and strawberries.
She was delighted and played with it all day.
She had a birthday cake - dare I say 'Elsa' theme from Frozen...... we're all a little tired of Elsa now but my granddaughter wears her dress and the shoes all day, even though the shoes are so many sizes too big! Her little feet almost go right through the shoe. She's so cute but we just have to laugh.
I kept the ribbon from the cake and this weekend I made her an Elsa birthday cake to play with.
I used a CD container for the cake, covered it all with felt, printed a picture for the top and gathered up felt for the icing. I glued it all together with my glue gun. I'm not sure the candle will last long but I did support it from inside with 'feet' stuck all around it, on top of the CD case before putting on the picture.
I've also worked a little on the sheep for the draught excluder, I'll put on some photos next time.
Have a good week making things!
Sunday, 8 January 2017
Tuesday, 27 December 2016
More Rabbits!
Meet The Boys! This is Forest.
And another boy - Ralph.
Some of his friends - Jack, Valero and Dennis.
A little Christmas rabbit - Holly.
Sweet Posy.
Cupcake and Connie
They are such fun to make and very popular with my friends and family!
Now, a new project. Another kit I bought at Duxford. It's a draught excluder by Double Knit Dating Agency. I shall make it for my sister who has recently moved to an old draughty cottage. Hopefully I'll get it finished before the spring.
The kit supplies all the fabrics with little fluffy bits for the sheep.
Have a good week and I hope you find some goodies in the after Christmas sales!
The Finished Ring of Hearts
I'm rather impressed with the kit I bought for the heart wreath; the fabrics and embellishments are beautiful and well thought out. I didn't feel I needed to change anything, everything was very well put together and to my taste. There are more than enough beads in each packet and a generous length of the silver cord.
I was also impressed with myself for sticking with it and I actually got to hang it on the wall this Christmas where it looked spectacular, although my photos just don't do the bling justice!
I chose to place my hearts on the ring with safety pins.
I hope everyone had a wonderful Christmas. I wish you all a very Happy New year with plenty of time to continue creating!
I was also impressed with myself for sticking with it and I actually got to hang it on the wall this Christmas where it looked spectacular, although my photos just don't do the bling justice!
I chose to place my hearts on the ring with safety pins.
I hope everyone had a wonderful Christmas. I wish you all a very Happy New year with plenty of time to continue creating!
Monday, 14 November 2016
Padded Heart Christmas Wreath
At the Duxford Quilt Fair last month I spotted this beautiful silvery heart wreath and just had to make one, you know how it is when you get the wants!
The photo on the pack doesn't do the finished wreath justice.
The fabrics are silvery and shiny, with lots of sparkle. All the fabrics and the bling is included; 12 packs of decorations and beautiful silver cord to trim the hearts.
Included also is the 'invisible' thread for sewing on the decorations and cord, and even a needle and needle threader!
I've sewn together all the hearts.
I started with the top heart, no 12. I stuffed it and sewed on the cord.
Last of all I added the decorations. Here it is finished and secured onto the ring with two safety pins at the back.
Here are the first three finished and pinned in place. No.s 12, 11 and 10
I've stopped for a while now as I've been asked to make some boy rabbits. I do like to swap my attention regularly!
Have a good week,
The photo on the pack doesn't do the finished wreath justice.
The fabrics are silvery and shiny, with lots of sparkle. All the fabrics and the bling is included; 12 packs of decorations and beautiful silver cord to trim the hearts.
Included also is the 'invisible' thread for sewing on the decorations and cord, and even a needle and needle threader!
I've sewn together all the hearts.
I started with the top heart, no 12. I stuffed it and sewed on the cord.
Last of all I added the decorations. Here it is finished and secured onto the ring with two safety pins at the back.
Here are the first three finished and pinned in place. No.s 12, 11 and 10
I've stopped for a while now as I've been asked to make some boy rabbits. I do like to swap my attention regularly!
Have a good week,
Thursday, 10 November 2016
A Cushion for a Special Little Grandson
Having bought some new cupboards with shelves and drawers I had a delightful afternoon emptying storage boxes and the bonus was that I found the fat quarter of animals print I'd intended to make into a cushion, along with the backing fabric, piping cord and zip! It doesn't take much to make me happy!
Here is the result.
I hadn't put a zip and piping into a seam for a long time, that was a bit of a challenge but I'm really pleased with the result.
I'm about to start a padded heart Christmas wreath kit which I bought at the quilt fair. Lots of silvery fabrics and added bling!
Here is the result.
I hadn't put a zip and piping into a seam for a long time, that was a bit of a challenge but I'm really pleased with the result.
I'm about to start a padded heart Christmas wreath kit which I bought at the quilt fair. Lots of silvery fabrics and added bling!
Sunday, 6 November 2016
Pin Cushion Danger
I never used a pin cushion, I always used the pins straight from the tin. If I upset the tin and had a major spill over myself and the floor I would find the last few with the help of a magnet.
A few years ago I found a lovely pattern to make felt pin cushions and as usual I made lots.
I have only used one of them and after four years it had become rather full and I was sometimes stabbed when I picked it up so yesterday I sorted it out. I found all these pins.
And these.
A few big needles were also in there but when I squeezed it I found a few smaller needles embedded deep inside and a few more.......
I was stabbed several times as I squeezed and I thought I had them all until I dragged a magnet past the pin cushion and it moved. There were three more inside.
Altogether there were 27 needles!
This poor little pin cushion has served me well but I will not put a needle in it again unless it is threaded and easy to see!
Beware the hidden dangers of the pin cushion!!!
A few years ago I found a lovely pattern to make felt pin cushions and as usual I made lots.
I have only used one of them and after four years it had become rather full and I was sometimes stabbed when I picked it up so yesterday I sorted it out. I found all these pins.
And these.
A few big needles were also in there but when I squeezed it I found a few smaller needles embedded deep inside and a few more.......
I was stabbed several times as I squeezed and I thought I had them all until I dragged a magnet past the pin cushion and it moved. There were three more inside.
Altogether there were 27 needles!
This poor little pin cushion has served me well but I will not put a needle in it again unless it is threaded and easy to see!
Beware the hidden dangers of the pin cushion!!!
Tuesday, 1 November 2016
The Little Bat Man Cape Challenge!
Looking back to last year, I wrote about the Bat Man cape I mistakenly made for my little grandson when in actual fact he was asking me for a cape for his tiny Bat Man.
I'm pleased to say that after a few prompts from my grandson I did finally make a tiny one. This Bat Man is not your average Action Man size but a tiny, fiddly little one.
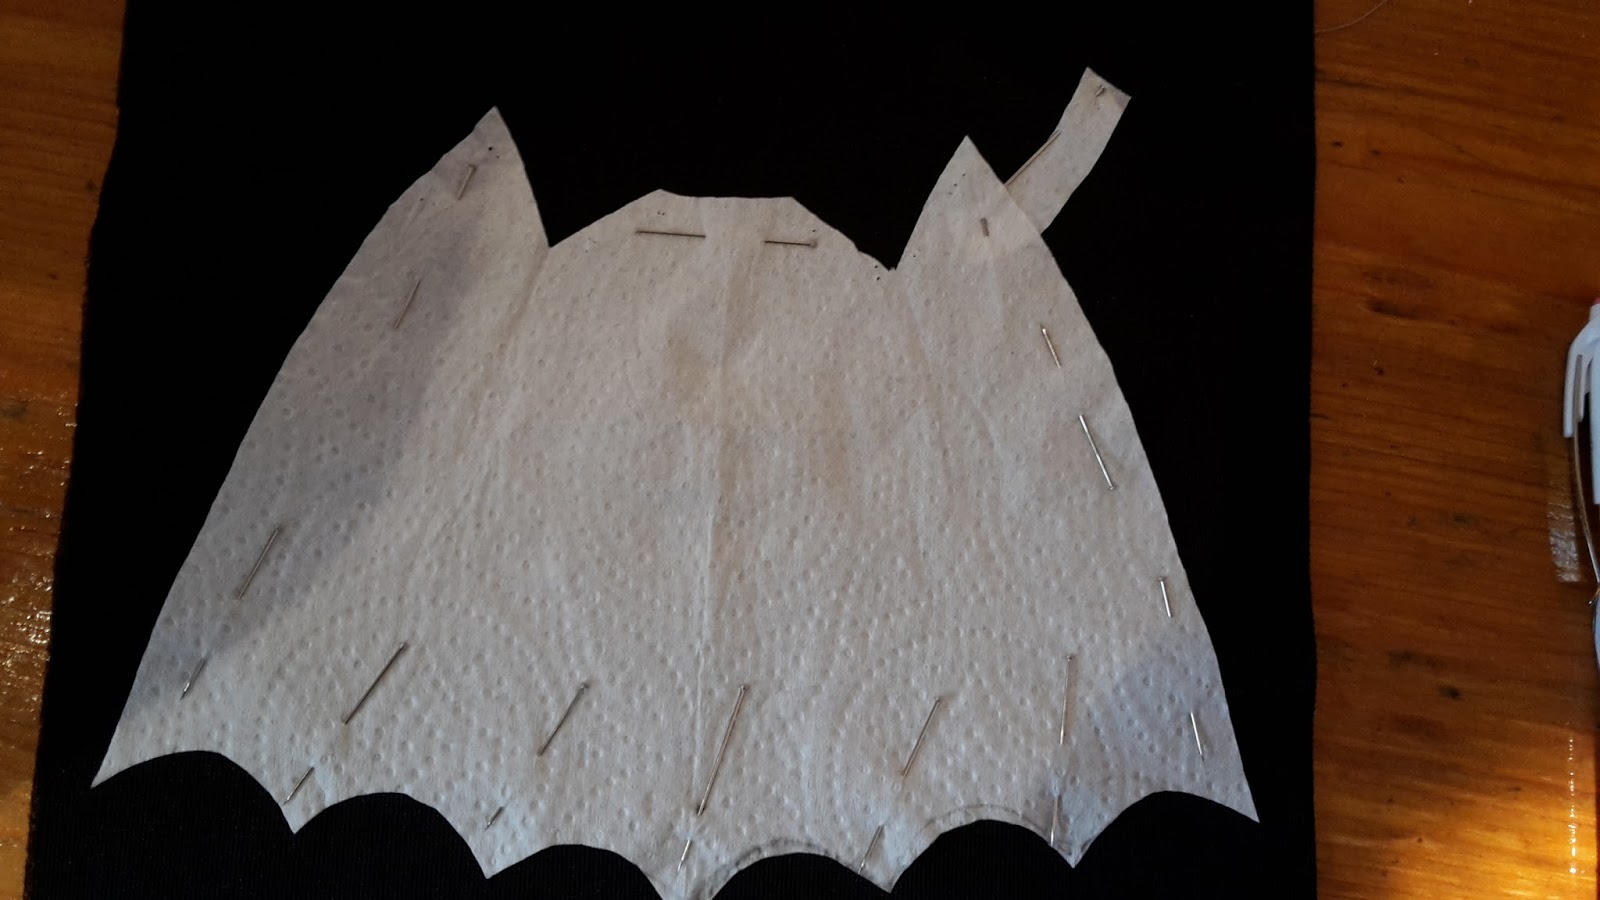
I made a pattern from kitchen roll and after a few fiddles I got it right.
The black fabric I have in my stash is limited, not a colour I like to use and I was just about to cut up a camisole when I discovered I had some knitted nylon iron-on stiffening; from where I don't know but it seemed right for the job as it drapes.
Using a knitted fabric was the best idea as it didn't need hemming which would be difficult at this scale and make the edges stiff.
I downloaded a Bat Man logo and cut it out onto some self adhesive yellow vinyl, another amazing find in the depths of my stash cupboard.
The hardest bit was sewing on the tiniest square of Velcro to the neck strap. I could see this being torn off in no time but luckily the neck hole is big enough to slip on and off without undoing it!
And here is Bat Man posing with his new cape.
I'm now sitting back smugly, wondering what my next challenge will be......!
I'm pleased to say that after a few prompts from my grandson I did finally make a tiny one. This Bat Man is not your average Action Man size but a tiny, fiddly little one.
I made a pattern from kitchen roll and after a few fiddles I got it right.
The black fabric I have in my stash is limited, not a colour I like to use and I was just about to cut up a camisole when I discovered I had some knitted nylon iron-on stiffening; from where I don't know but it seemed right for the job as it drapes.
Using a knitted fabric was the best idea as it didn't need hemming which would be difficult at this scale and make the edges stiff.
I downloaded a Bat Man logo and cut it out onto some self adhesive yellow vinyl, another amazing find in the depths of my stash cupboard.
The hardest bit was sewing on the tiniest square of Velcro to the neck strap. I could see this being torn off in no time but luckily the neck hole is big enough to slip on and off without undoing it!
And here is Bat Man posing with his new cape.
I'm now sitting back smugly, wondering what my next challenge will be......!
Subscribe to:
Posts (Atom)